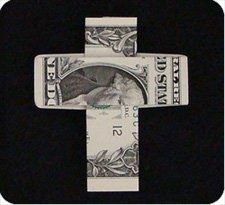
Money Cross

This Money Cross was created by Mark Robert Morden. It is a clever design: although the model looks like it needs two dollar bills to make the cross-bars, it actually uses only one dollar bill. You begin by folding the dollar bill into thirds.
Money Cross Instructions
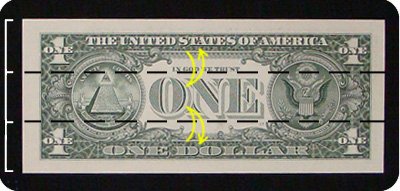
Step 1:Start with a crisp dollar bill. Fold it into thirds horizontally. Unfold.
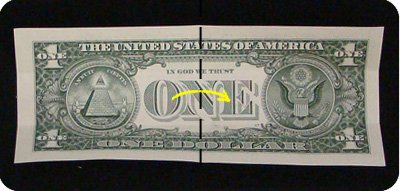
Step 2: Fold the bill in half (left to right).

Step 3: Fold in the bottom left corner of the model so it becomes a small triangle. The top of the triangle should align with the lower crease made in step 1.

Step 4: Fold in the left side of the model. The folded section should be the same width as the small triangle made in step 3.
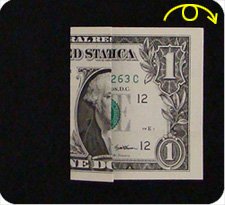
Turn the model over.
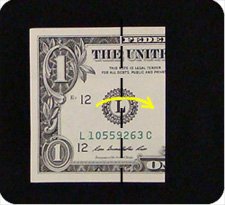
Step 5: Fold the left side of the model towards the right. Fold only the top-layer of the dollar bill. Use the flap made in step 4 as a guide to measure where to make the fold.
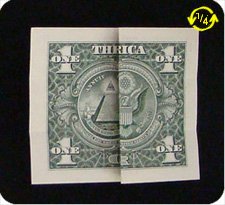
Rotate quarter turn counter-clockwise.

Step 6: Fold the top-left side of the dollar bill towards the right. Use the crease made in step 1 as a guide.

In transition.

Make a squash fold to flatten down the paper.
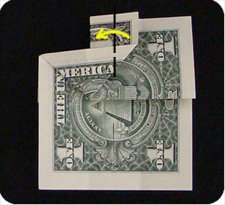
Step 7: Fold the raw edge towards the left as shown (fold in half).

Step 8: Repeat on the right side: fold in the top-right section.
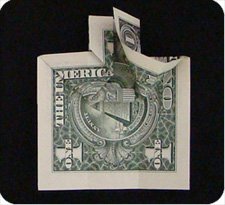
Make a squash fold to flatted the paper.
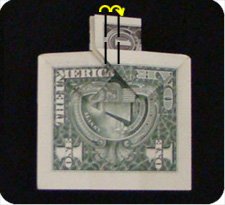
Step 9: Pinch both raw edges together and fold them towards the right. Fold over twice to lock the layers together.

This is after one fold. Next photo shows how it looks after 2 folds.
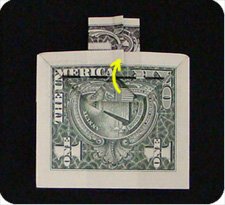
Step 10: There is a flap of paper near the middle of the model. Fold up this flap (fold in half).

Step 11: Lift this flap a little and release the trapped paper that is underneath.
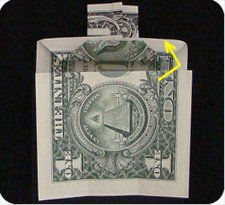
Step 12: Position the released paper so it is aligned with the layers under it.
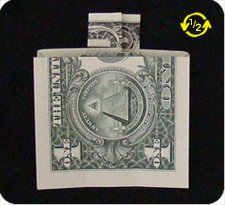
Rotate half turn.

Step 13: Repeat steps 6 to 9 on this half of the dollar bill. First, fold in the top-left section of the model. Remember to make a squash fold to flatten the paper.
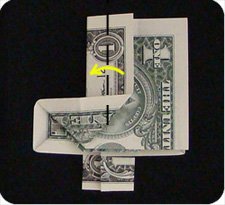
Step 14: Fold back the raw edge.
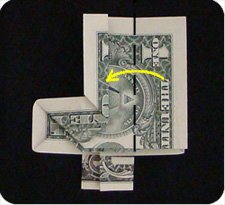
Step 15: Fold in the top-right section of the dollar bill.
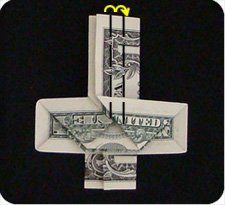
Step 16: Pinch the two edges together, fold over twice to lock the layers together.
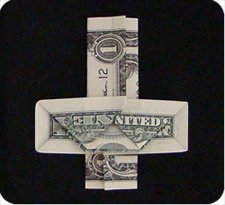
Step 17: The Money Cross is almost done: fold over the central flap twice to lock everything in place.

This is how it looks after one fold.

Appearance after two folds.
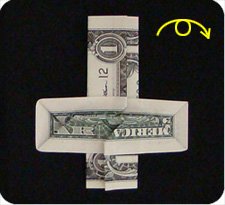
Step 18: Turn over and rotate. Money Cross is done!
-
Books with Dollar Bill Origami
- The Buck Book by Anne A Johnson (book review)
- The Guide to Hawaiian Style Money Folds by Jodi Fukumoto (book review)
- The Guide to American Money Folds by Jodi Fukumoto (book review)
- Dollar Bill Origami by John Montroll (book review)
- Dollar Bill Animals in Origami by John Montroll
- Origami with Dollar Bills: Another Way to Impress People with Your Money! by Duy Nguyen
- Money Folding (Origami Favorites Series) by Florence Temko
Please Help
Please help by reporting broken links so that we can fix them. One easy message from you can save us hours and hours of clicking. Thanks!
-
More Origami Diagrams and Instructions…
-
These free origami instructions are made available to you by the paper folding community at large. If you have a diagram you would like to share, or if your diagram is listed here and you wish to have it removed, please Contact Us. Diagrams are intended for personal use. Copyright of the models lie with the origami creators and designers. Please contact the designer and/or creator directly for non-private usage of a model and/or artwork.

