Instructions to Make Origami Fan Brooch
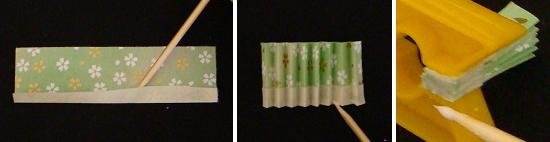
Cut a piece of paper that is 1.5 inch wide and 4 inch long. Fold the bottom quarter up. Apply glue on the backside of this folded section and press down. Read about types of glue here. Allow the glue to dry before proceeding.- Fold the paper into an origami fan according to these instructions. Use a toothpick and apply glue on the very bottom of the pleats.
- Clamp the pleats together and apply glue at the base of the fan. Allow glue to dry completely before proceeding.

Flare open the top of the paper fan keeping the bottom glued together. You can open the fan completely as shown, or keep the bottom pinched like a handle.
- Coat the origami fan to protect it from moisture, dust, and dirt. You can spray on shellac, brush on a layer of clear nail polish, or dip the fan in a canister of varnish. Read about the different choices of finishes and coatings here. Depending on which finish you use, you may need to apply multiple layers. Allow each coating to dry before applying another layer.
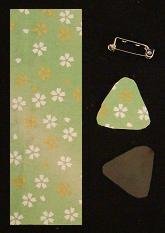
- Prepare a backing for the paper fan. Cut a piece of flexible plastic to the shape (but slightly smaller) of the paper fan. Cut a piece of paper to the same size as the plastic; use paper the same color as the fan. Glue the paper to the plastic. The purpose of the paper is to hide the glue on the backside of the brooch (see next step).

Apply glue on the backside of the backing and press it onto the backside of the paper fan. Allow glue to dry before proceeding.
- Attach a bar pin
onto the backing. A glue gun works well but other types of glue will work just as well. The pin should be attached near the top of the brooch: it can be attached horizontally or diagonally, but always near the upper half of the brooch (otherwise, brooch will droop). Location of the bar pin will allow the brooch to be worn with the fan positioned straight or at an angle.
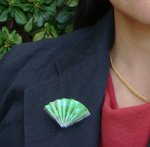
- Done! Completed brooch is approximately 2″ at its widest; allow glue to dry before wearing the origami fan brooch.