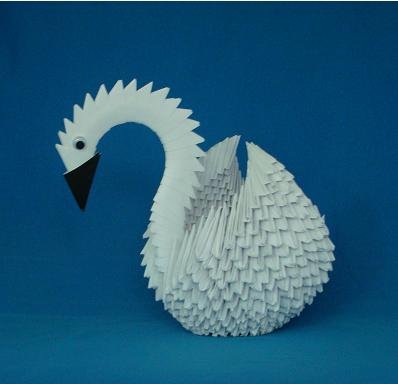
This 3D origami swan was made with 400+ sheets of paper each folded into a small triangle. This type of paper folding is called Golden Venture Folding or Chinese Paper Folding.

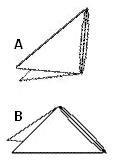
Position A: the triangle rests on the short edges of the triangle with the pockets still visible.
Position B: triangle rests on the broad edge of the triangle: similar to a mountain; pockets are also visible.
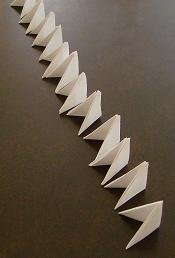
Row 2: connect Row 1 into a ring by using “connector” triangular units. These connector units will become Row 2 of swan. To do this:
– place two Row 1 units side by side in position A;
– insert the points into the pockets of a connector unit (also in position A)
– this forms a cluster of 3 units

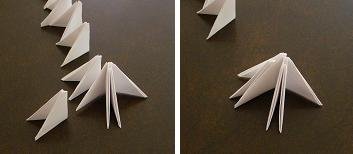
– place the cluster made above beside another Row-1 unit;
– connect them together with another triangular unit;
– this forms a cluster of 5 pieces.
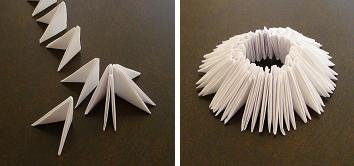

Row 3: continue assembling the body of the 3D origami swan by adding more triangular units. Note that the triangular units are now added while in position B. Be sure to insert the points of two different units into one connector unit. Inter-locking the units in this manner will keep the 3D origami swan body together.
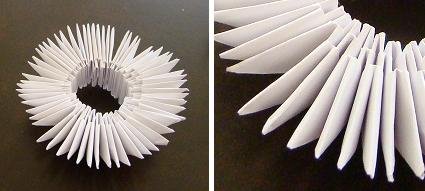

Row 7: Add triangular units to form Row 7 as above. Remove 2 triangular units across from one another. Shown: the units at “12 oclock” and “6 oclock” have been removed.

As you assemble, allow the pieces to curve naturally to form a bowl-like shape.

Tail: simply connect 4 or 5 triangular units in mountain position (position B).
Depending on what the 3D origami swan will be used for, you may wish to add a drop of glue in each triangular unit of the neck. The neck is the most fragile part of the 3D origami swan so glue is good. Glue is not needed for the body and wings of the swan.

Optional: you can fold a black sheet of paper into a triangular unit and use this as the swan’s bill (insert in position B). You can also embellish with googlie eyes.
3D Origami Swan Tips
If you have done everything up to here then you’ve done a great job. Swans will look even better if:
- use clean crisp paper. Don’t start with soggy or dirty paper – that would just make a grungy looking swan.
- fold each triangular unit accurately. Align the paper well and avoid bits of paper sticking out where they shouldn’t be. The final swan will only look as good as each unit. Sloppy units will make a sloppy swans.
- insert the triangular units with equal pressure. This will make each unit the same distance from one another and create a regular grid. Units that are equal distance from one another will make a balanced swan that is not lopsided.
- adjust the location of the units frequently. Don’t wait until you have completed the entire swan to adjust. Once the pieces are interconnected, it is difficult to nudge them around.
- avoid using triangular units have have been used before. These used units will have pockets that are already stretched and they will assemble differently.
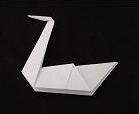
- make a Golden Venture Folding basic triangular unit
- make a Golden Venture Folding candy cane
- make a Golden Venture Folding wreath like ring
- make a Golden Venture Folding egg
- learn more about Golden Venture Folding
- more origami swans and birds
Please Help
Please help by reporting broken links so that we can fix them. One easy message from you can save us hours and hours of clicking. Thanks!
-
More Origami Diagrams and Instructions…
-
These free origami instructions are made available to you by the paper folding community at large. If you have a diagram you would like to share, or if your diagram is listed here and you wish to have it removed, please Contact Us. Diagrams are intended for personal use. Copyright of the models lie with the origami creators and designers. Please contact the designer and/or creator directly for non-private usage of a model and/or artwork.


