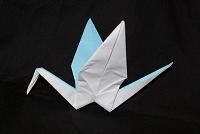
Traditional Origami Chicken
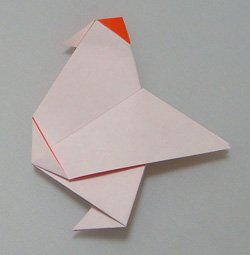
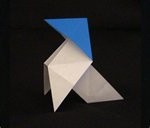
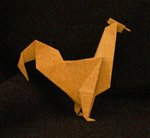
To make this Traditional Origami Chicken, you will need origami paper that is different color on the front and on the back of the paper. If you use regular paper, then you will not be able to make the chicken’s head a different color as shown. The model is not hard to make, but it does require that you fiddle with the paper a little in step 5 before you squash the paper flat.
Traditional Origami Chicken Instructions

-
- Start with a square sheet of origami paper with the color-side facing up. Position the paper in “diamond” orientation with the square balanced on one of its corners. Fold in half (bottom to top).
- Fold the bottom corners up to the top.

-
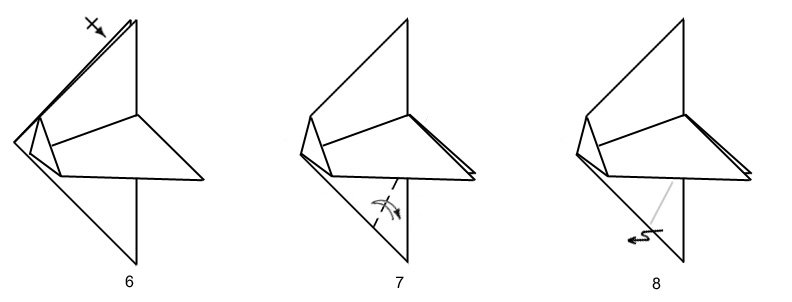
- Mountain fold the model in half (right side folds behind left side).
- Peel down and to the right the top flap of paper.
- Adjust the paper to release tension (at arrow) and then press down flat.
-
- Repeat steps 4 and 5 on back side. Match the positioning of the back wing with the wing at the front of the model.
- To make the feet, valley fold the bottom part of the model towards the left. Unfold
- Make an inside reverse fold so the chicken’s feet are in between the two layers of paper of the body.
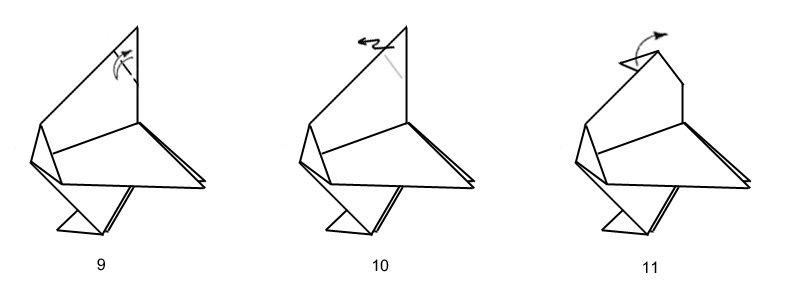
-
- To make the head, fold the top part of the model towards the left. Unfold.
- Make another inside reverse fold to place the head in between the two layers of paper of the body.
- Unfold and release one layer of paper from the head section of the model.
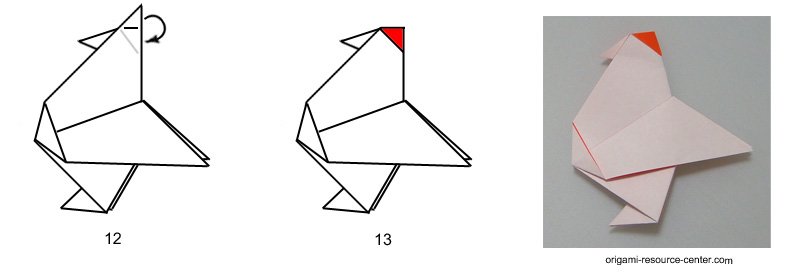
- Fold this peak back down so the colored side of the paper is visible. To avoid ripping the paper, you may need to unfold the body of the model a little, make the color-change fold; then refold the body of the chicken.
- Done!
– Traditional Origami Chicken as photo-instructions
– more Easter Origami
– more origami birds
– free origami instructions
– Home Page
– Site Map
-
Books about Origami Birds
- Origami Birds by Michael G. LaFosse
- Origami Birds by Duy Nguyen
- Making Origami Birds Step by Step (Kid’s Guide to Origami) by Michael G. LaFosse
- Bird Origami by Seth Friedman
- Birds by Robyn Hardyman
Please Help
Please help by reporting broken links so that we can fix them. One easy message from you can save us hours and hours of clicking. Thanks!
-
More Origami Diagrams and Instructions…
-
These free origami instructions are made available to you by the paper folding community at large. If you have a diagram you would like to share, or if your diagram is listed here and you wish to have it removed, please Contact Us. Diagrams are intended for personal use. Copyright of the models lie with the origami creators and designers. Please contact the designer and/or creator directly for non-private usage of a model and/or artwork.


