Don’t just “dog-ear” your page corner, use origami to make the page corners beautiful and distinctive. Here are a couple of ideas:

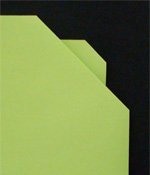
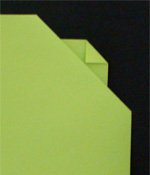
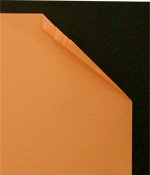
Recessed Corner
simple and easy to do.
– fold back to form a triangular flap behind,
– fold the flap forward again with a slight recess.
Variations include folding the tip of the recessed corner behind (middle), or forward (right).
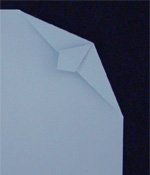
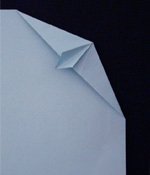

Squashed Rabbit-Ear Corner
this fold is slightly more complex but looks fabulous.
– fold the corner forward to form a triangular flap,
– make a rabbit-ear fold,
– lift and squash the smaller flap to form a kite shape.
Variations include folding the “kite” in half and flaring the two halves (middle); or fold the entire rabbit-ear back and then turn the page over (right).


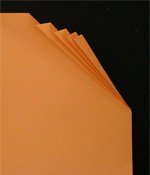
Pleated Corner
add pizzaz by pleating the corner in an accordion (fan) manner. You can leave the pleats in a stack (left), or splay them out forming ripples (right).
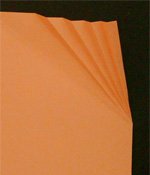
Wedge-Pleated Corner
similar to above except that the pleats are not parallel to one another. Here, the pleats are folded so they radiate from one point. The wedge-shaped pleats can be stacked (left), relaxed (middle), or splayed out like rays from the sun (right).


Butterfly Corner
If you don’t mind cutting or ripping your corner slightly, then this easy butterfly makes a beautiful corner! To make it,
– fold the corner of a page forward to form a triangular flap,
– cut a slit down the middle of the folded triangle,
– fold the cut edges back to form the lower wings.
Variations include folding wide or narrow wings.
- origami LetterFolds
- origami CD covers
- origami Tatos (self closing packages)
- more origami instructions
- Home Page
- Site Map
- Like Us on Facebook
This is a paper bookmark video by Sweet Paper


