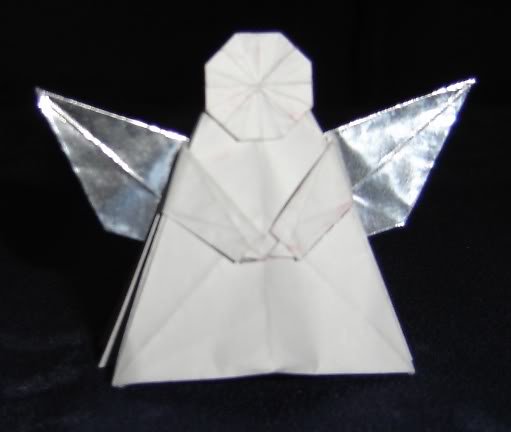
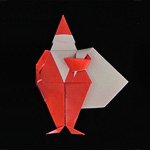
Origami Angel
by Mike Case
 This Origami Angel is by Mike Chase and used to be found on this web site:
http://members.shaw.ca/yagowe/origami/angel.html .
But this site is no longer active and we have captured the image and reproduce it here. Please contact us if you are the rightful owner of this diagram and wish for it to be removed. Otherwise, thank you for sharing your talent.
Origami Angel by Mike Case, ©2006
Last modified February 2006

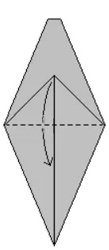
1) Fold a preliminary base.
2) Squash fold.
3) Repeat step 2 on the other 3 flaps
4) Petal fold. Repeat on the two sides and the rear.

5) Sink the top approximately where shown (a deeper sink will make the face bigger).
6) Valley fold the points down on all the sides.
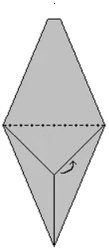
7) Mountain fold all four points inside. Spreading the lower points will make this easier.
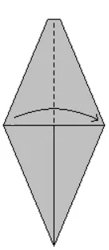
8) Valley fold one flap to the right. Repeat behind.
9) Valley fold the point up.
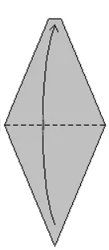
10) Fold flap to the left.
11) Repeat steps 8 through 10 on the right.
12) Reverse fold where shown.
13) Pull one layer of paper out from the inside to change the colour. Repeat behind.

14) Valley fold the point up so it is between the second and third flaps.
15) Mountain fold the front flap of the wing down.
16) Repeat steps 12 through 15 on the left.

17) (Englarged view) Reverse fold the points down so they lie about where shown in step 18.
18) Crimp the outer layers of the arms downward while pushing some paper up from inside.
19) Crimp to form hands.
20) Valley fold the arms toward the centre.
21) Valley fold the front part of the sink forward, inserting a finger at the arrow, and spread to form the face.

22) The finished model.
-
More Christmas Origami Diagrams
Christmas
Trees
Snowflake & Snowmen

Hanging Ornaments

Origami Santa Claus
Wreaths & Garland

More Xmas Diagrams

-
More Origami Trees


")
")
")


")
")
")
")
")

")
")
")
")


