Iris Folding Design
The first step in iris folding is to choose a template. We have generated some pre-made templates for you to use. You can click on the link and then print directly from your computer, or you can copy & paste the template onto a file and print it from file.
Premade Templates for Download
You can also design your own templates for iris folding. You may choose any shape you want, or perhaps you want a template of specific dimensions. We use a square as an example.
Design Your Own Iris Folding Template
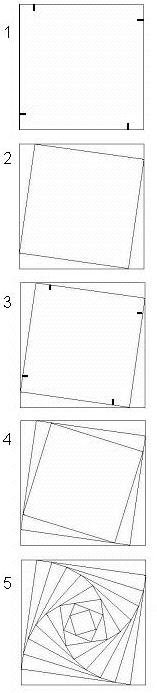
- Draw the shape you desire in the size that you want. Using a ruler, make a dot “X” distance from the corner. Do this for all corners. “X” can be half and inch; a quarter of an inch; or any distance you want.
If you choose a short distance (1/8 of an inch), then you will need many narrow strips of paper. If you choose a long distance (1 inch), you will need fewer strips, but each strip will be wider.
- Connect the dots. This will cause you to draw the same shape, but smaller, inside the original shape.
- Make another dot the same distance from the corner of the smaller, inner shape.
- Connect the dots again to make a third shape. Each new shape gets progressively smaller and smaller.
- Continue drawing smaller and smaller shapes inside the larger shapes until there is no more room left or until you have enough.
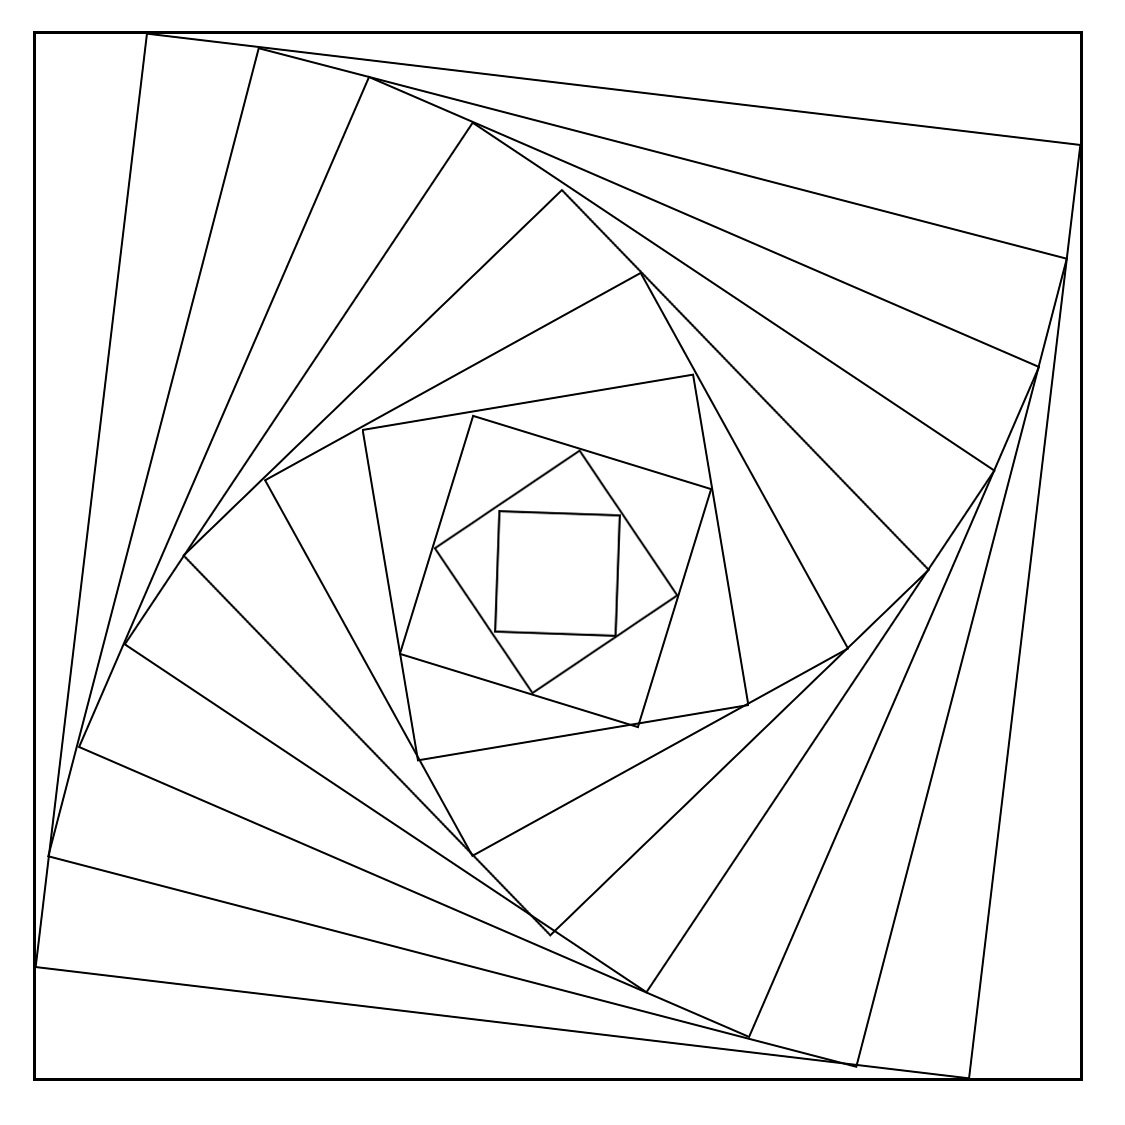
Computer Designing Iris Folding Patterns
By far, the easiest way to create your own iris folding pattern is to use a pencil and a ruler as shown above. But if you are one of those people who like to draw on a computer, you will need a way to calculate two things:
1) the size of the inner square
2) the angle to rotate the inner square.
Go to this page to get computer assisted iris folding pattern design instructions.
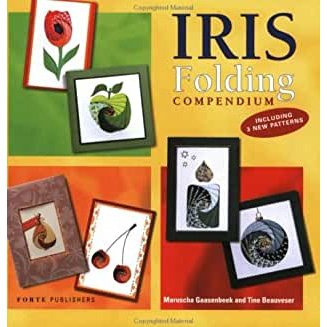
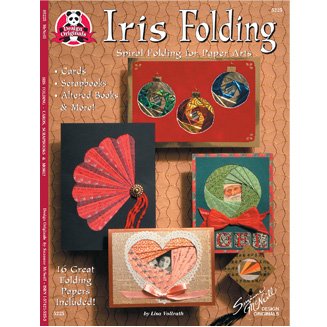
Books about Iris Folding
- Iris Folding Stylish Greeting Cards by M. Gaasenbeek
- 130 New Iris Folded Cards to Make by M. Gaasenbeek
- Iris Folding 2: 29 Designs for Cards and Scrapbooks by C. Donasky
- The Simplicity of Iris Folding by Sarah Decker
- Iris Folding For Winter by Gaasenbeek & Beauveser
- see Iris Folding books


