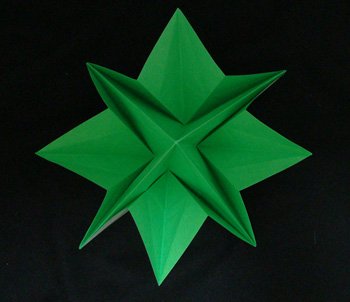
Fir Tree
by SS Cucek

This page is a “help page” for folding the origami Fir Tree created by SS Ćućek. The diagrams are amazing, but for those of you who are having trouble, this page explains in more detail steps 10 through step 16. In particular, the locking mechanism of step 15 can be tricky.
Follow instructions up to Step 10
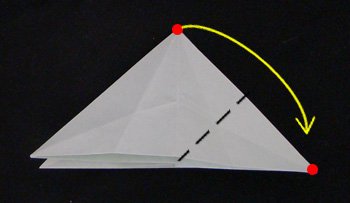
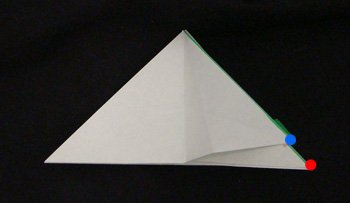
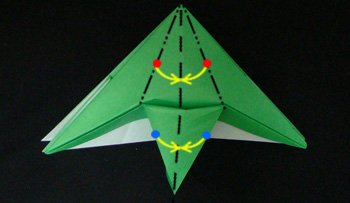
Work with the top layer of paper only. Fold the top corner down so it meets with the bottom-right corner (connect red dots).
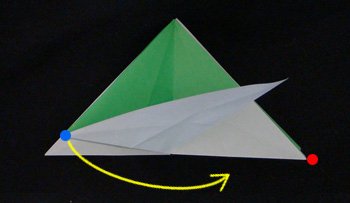
As you do this, the bottom-left corner will lift up. Bring the bottom-left corner to the bottom-right corner (connect blue and red dot).
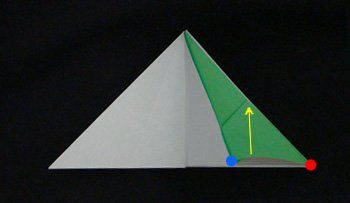
Make a mountain fold so the flaps can compress flat.
https://origami-resource-center.com/wp-content/uploads/diagrams/Fir-Tree-Cucek-10d.jpg
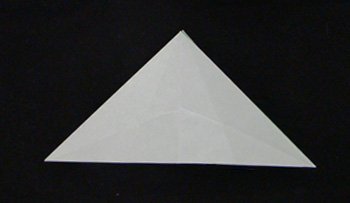
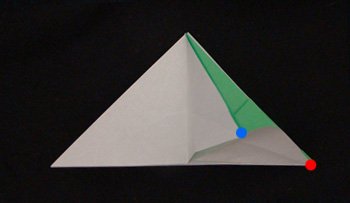
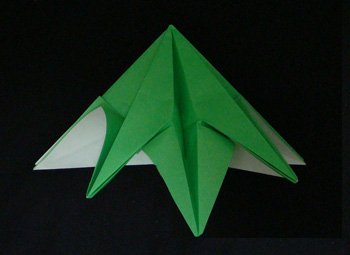
Done.
Side view.
Top view when one side has been completed.
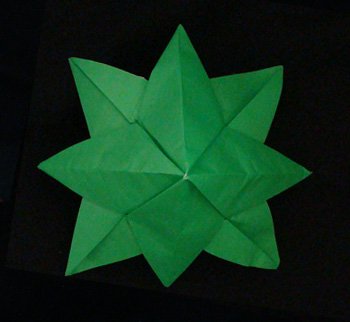
Top view when all 4 sides are done.

To make the next steps easier, unfold the model completely and reinforce the relevant creases.
This is how the crease pattern looks like.
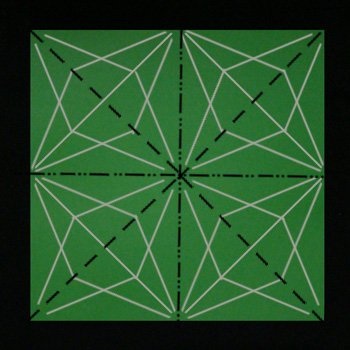
Reinforce creases: mountain fold along the horizontal and vertical. Valley fold along the diagonal.
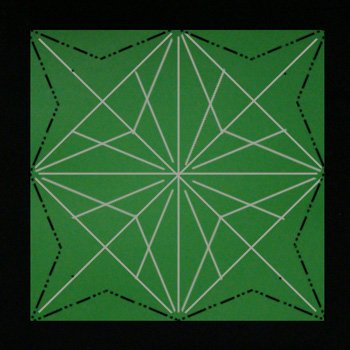
Reinforce creases: mountain fold along the edges.
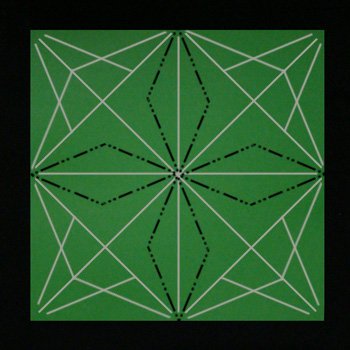
Reinforce creases: mountain fold near the center of the paper.
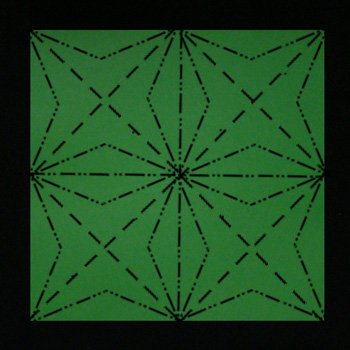
The relevant creases shown.

This is how it looks like.

Refold the blintz base, then collapse into a waterbomb base.
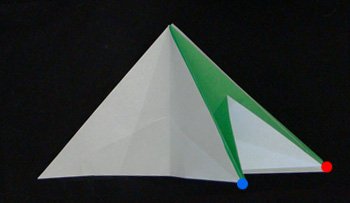
Start step 11 by making the valley folds as shown.

Fold the bottom flaps under.
At the same time, pinch the model so the edges come together. (Valley fold at the center crease; red dots and blue dots join).

In transition.
Almost there.

Done.
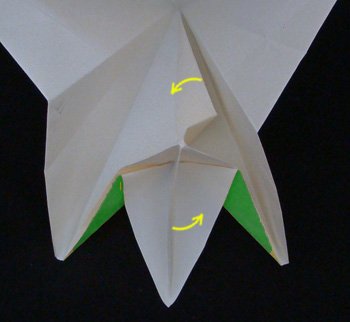
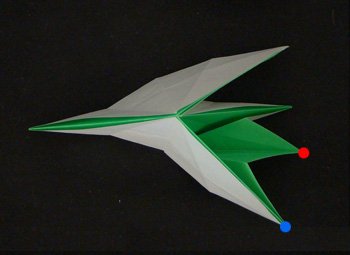
To lock the folds in place, turn the model over.
Notice the 4 ridges. Push the top-ridge towards the left. Push the bottom-ridge towards the right.
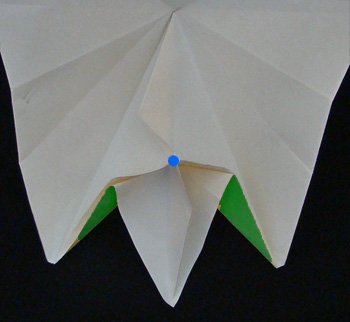
Your goal is to compress the peak (blue dot) into a flat square.
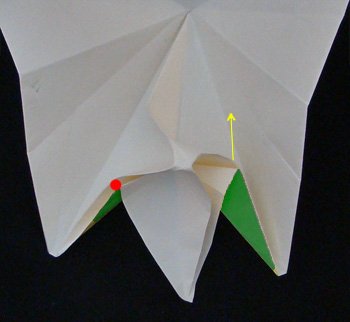
Hold still the left-corner (red dot) and push up the right-corner. Notice the center peak starting to stretch out and expand.

Press the top-corner and bottom-corner away from one another. Keep doing these two moves until the center flattens out.
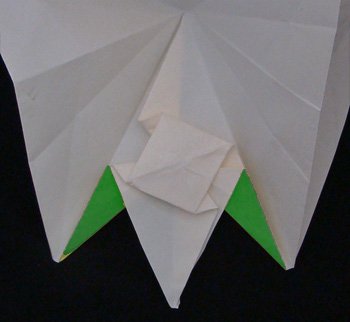
After a while, the center peak is low enough to squash down into a flat square.
Origami experts will be able to make a perfectly squashed square. For the rest of us, just try your best.
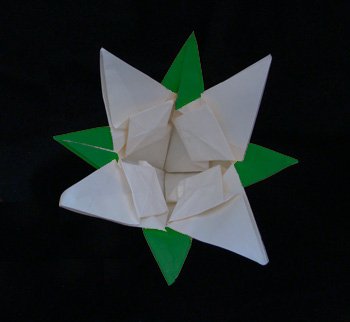
This is how it looks like when all 4 sides have been done. The procedure gets harder with the smaller units.
Top view.
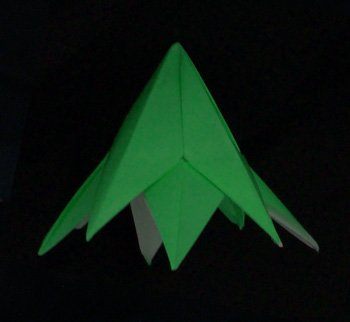
Side view.
Repeat with the other units of the origami Fir Tree.
-
More Origami Trees


")
")
")


")
")
")
")
")

")
")
")
")
-
More Christmas Origami Diagrams
Christmas
Trees
Snowflake & Snowmen

Hanging Ornaments

Origami Santa Claus

Wreaths & Garland

More Xmas Diagrams


