Easy Origami Ladybug
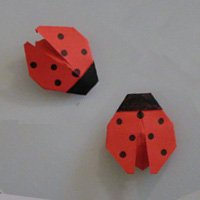
Ladybugs are so cute and this easy origami ladybug is no different. The best part about this paper ladybug is that it is so easy to make: you can fold yourself a collection in no time!
You can make the model with a square sheet of paper, but if you cut it in half and start with a triangle, you will be able to make twice as many. The paper should be red on both sides. Have a black marker in hand to make the black spots.
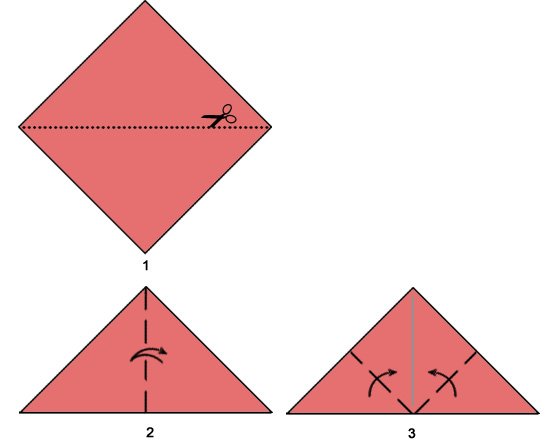
- Start with a square sheet of paper that is red on both sides.
Cut it in half along the diagonal to get an isosceles triangle. - Fold triangle in half and unfold.
- Fold up the two bottom corners so the corners meet at the peak of the triangle.
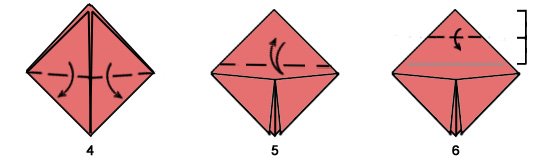
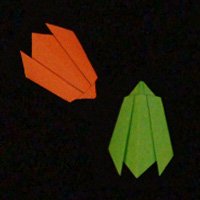
- Fold the two corners back down, except fold them at a bit of an angle so the corners are slightly away from one another like the wings of a bug.Keep in mind that the hard, outer shell of a ladybug is usually in the closed position. It is only when they are flying that the red shells are far apart from one another.
- Fold down the top of the model; don’t fold down exactly in half, leave a small gap as shown. Unfold
- Make this flap more narrow by folding it in half.
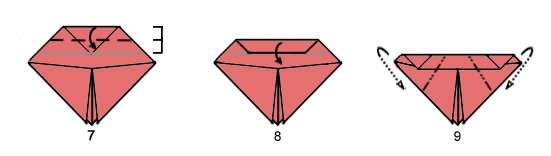
- Fold in half one more time.
- Re-fold the flap along the crease made in step 5.
- Fold back (mountain fold) the left and right sides of the model. Keep in mind that ladybugs tend to be more oval shaped and not elongated like a wasp.
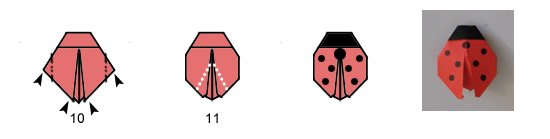
- Fold the left and right sides under so the body is not so angular.
Fold the tips of the outer shell “wings” so it is less pointy. - Give the bug a bit of shape, fold the body of the ladybug down and away from the wings. Dotted line is x-ray vision; it shows folding of lower layer.
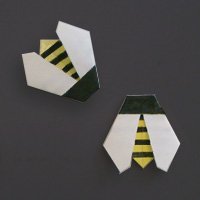
- Ladybug is pretty much done. Use a marker to color the head black and put spots across the ladybug’s back.
Easy Origami Ladybug is done!
-
More Origami Insects & Bugs


-
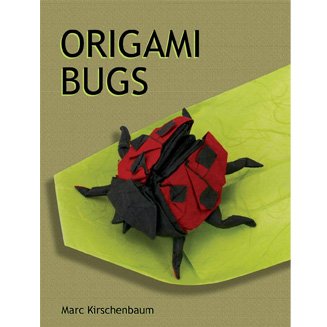
- Origami Bugs (Hardcover) by Marc Kirschenbaum
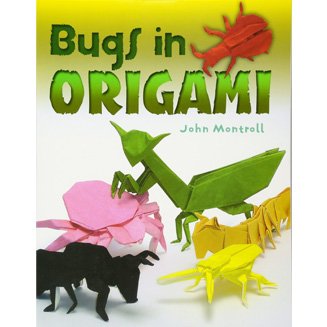
- Bugs in Origami by John Montroll
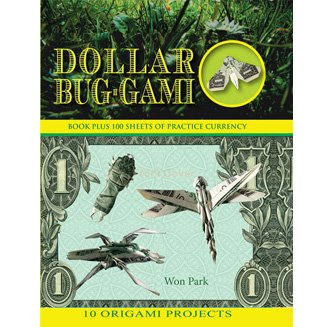
- Dollar Bug-Gami by Won Park
- Origami Masters Bugs: How the Bug Wars Changed the Art of Origami (Hardcover) by J Ku, S Arellano, W Park
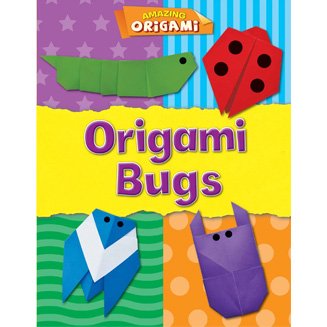
- Origami Bugs (Amazing Origami) by Ms Catherine Ard
- Click to see origami bugs books