
Easy Origami Bug
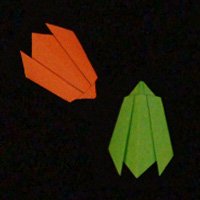
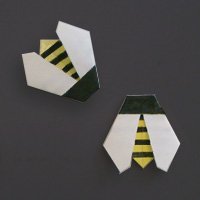
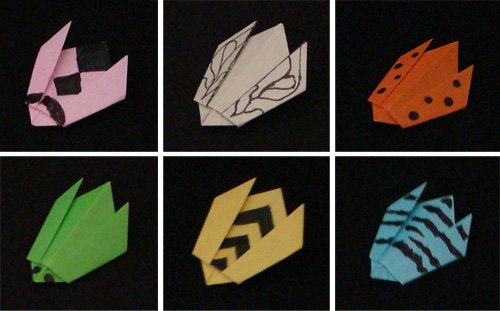
This easy origami bug is quite versatile and you can adjust it to be any bug you want. Use green paper to make it into an aphid or a green beetle. Use yellow paper and black markers to convert the generic bug into a bee or wasp. Red paper works for ladybugs and other red beetles. You can modify the angle of the wings and the shape of the body by adjusting the angle of the folds in steps 2 & 6 below.


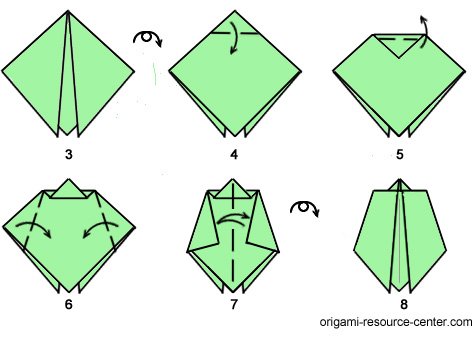
- Fold in half (top to bottom).
- Fold down the left and right flaps so the corners of the paper point downwards and a little away from each other. These will be the wings of the bug.
- Turn the model over.
- Fold down the top part of the model; this will be the head of the bug.
- Fold the head section back up making a pleat.
- Fold in the left and right sides, make the fold at an angle so the body of the bug is more narrow and tapered.
- Fold the entire model in half and unfold. This gives the bug some volume so it is not flat.
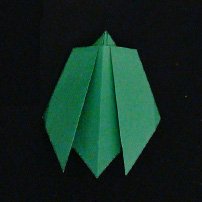
- Turn over and you’re done!
-
Books with Origami Insects
- Origami Bugs (Hardcover) by Marc Kirschenbaum
- Bugs in Origami by John Montroll
- Dollar Bug-Gami by Won Park
- Origami Masters Bugs: How the Bug Wars Changed the Art of Origami (Hardcover) by J Ku, S Arellano, W Park
- Origami Bugs (Amazing Origami) by Ms Catherine Ard
Please Help
Please help by reporting broken links so that we can fix them. One easy message from you can save us hours and hours of clicking. Thanks!
-
More Origami Diagrams and Instructions…
-
These free origami instructions are made available to you by the paper folding community at large. If you have a diagram you would like to share, or if your diagram is listed here and you wish to have it removed, please Contact Us. Diagrams are intended for personal use. Copyright of the models lie with the origami creators and designers. Please contact the designer and/or creator directly for non-private usage of a model and/or artwork.


