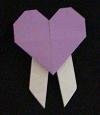
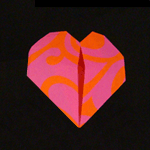
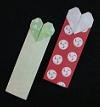
Lovers Knot variation

This Lovers Knot variation produces the same result as the original instructions but the methodology is quite different. This sequence of folds starts with a waterbomb base instead of a blintz base.
Please note that a similar diagram was made by Elsje van der Ploeg which you can see here. This pdf states that the model was printed as early as 1936.
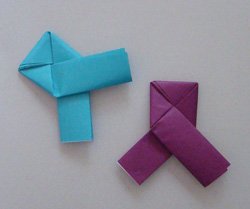
“Lovers Knot” (left) not to be confused with “Love Knot” (right)
Lovers Knot variation Diagram

Start with a square sheet of paper with the white-side facing up.
Make valley and mountain folds as indicated
Collapse the paper into a waterbomb base.

-
- Fold the waterbomb in half so the peak meets the base of the triangle. Unfold.
- Lift the top layer of paper so the red dot meets the peak of the waterbomb base.

-
- Bring the bottom corners (green dots) up towards the peak of the waterbomb base.
- Turn the model over.

-
- Repeat step 3 on this side of the model: bring the top layer of paper up towards the peak, then bring the two corners up.
- Like turning pages of a book, flip one layer of paper from the right towards the left. Turn an equivalent layer from the back side from left to the right.

-
- The model is getting thick with multiple layers of paper.
Fold the bottom section up. - Repeat with the back layer of the model: fold the bottom section up.
- Like turning pages of a book, flip one layer of paper from the right towards the left; fold another layer from left to the right.
- The model is getting thick with multiple layers of paper.

-
- Fold up the bottom-corners to make a triangle shape.
- Repeat on the back side.
- Rotate the model so you are look at it from the top (peer through from base towards peak of triangle).
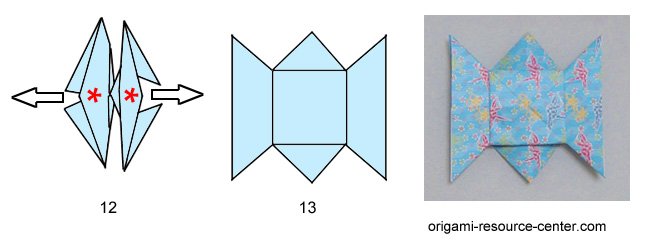
- Slide your thumb down the inside of the model; pinch the layers together; then pull apart gently.
- The model will expand into this distinctive shape; Lovers Knot and Lovers Knot variation have the same shape even though they are folded differently.
Once made, this model is quite difficult to unfold. In fact, unfolding it usually causes it to rip a little. If you could unravel it without it, you would find it difficult to refold it along the exact crease lines. It is thought that these features make the model a perfect way to send secret messages. No one can open it, and once opened, it cannot be refolded.
– see instructions as photo diagrams
– more origami hearts
– more cute letterfolds
– free origami instructions
-
Books with Origami Hearts
- Origami Hearts by F Ow
- Origami Hearts by J Archer
- Origami from the Heart by F Temko (book review here)
- Folding Hearts by Sy Chen
Please Help
Please help by reporting broken links so that we can fix them. One easy message from you can save us hours and hours of clicking. Thanks!
-
More Origami Diagrams and Instructions…
-
These free origami instructions are made available to you by the paper folding community at large. If you have a diagram you would like to share, or if your diagram is listed here and you wish to have it removed, please Contact Us. Diagrams are intended for personal use. Copyright of the models lie with the origami creators and designers. Please contact the designer and/or creator directly for non-private usage of a model and/or artwork.


