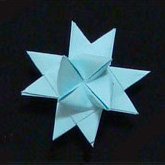
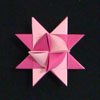
German Stars (Moravian Stars)
This page shows how to make a German Star using 4 strips of paper. Although the task is not particularly hard, those who have never made one before may find it a bit confusing. But after 2 or 3 tries, you will be able to make them with your eyes closed!
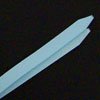
- Fold the strips in half and trim the ends to make them tapered.
- Weave the 4 strips together as shown. Scoot the strips together to form a tight central square.
Make Second Central Square
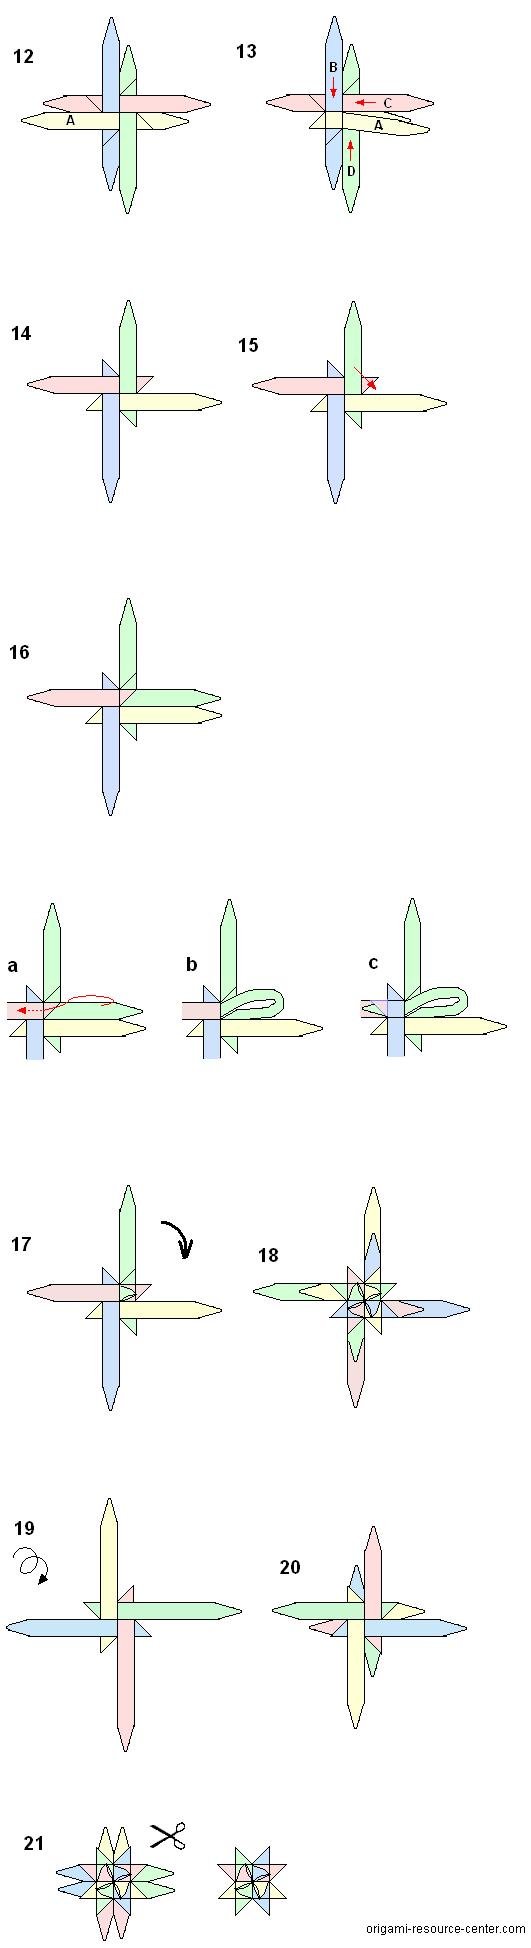
- Fold in this order:
– fold strip A down,
– fold strip B to the right,
– fold strip C up,
– fold strip D to the left and weave it under strip A.
Make Four Points
-
- Fold the top-right strip behind and towards the right. Make sharp crease, 45 degree angle.
- Fold the same strip down so it is adjacent to its original location. Again, sharp crease at 45 degree angle.
- Fold this strip to the left so it lies ontop of itself.
- It should look like this.
- Grasp the point firmly so it doesn’t unravel then weave the tail-end of the strip under the layer just below it.
- It should look like this. Rotate the paper quarter-turn, clockwise. Go back to step 4 and repeat 3 more times.
below: When completing the steps on the last strip, you will need to lift strip X out of the way in order to weave the last strip under.


Make Second Set of Four Points
- Flip the entire model bottom-side up and repeat steps 4 through 9.
- When done, it should look like this. Now you have 8 points, four will be visible, the other 4 will be under layers of paper.
Make Four Peaks
Get ready to make the 4 peaks by re-arranging the strips of paper.
-
- Moved strip A to the right to get it out of the way.
- Fold in this order:
– fold strip B down,
– fold strip C to the left,
– fold strip D upwards,
– lastly, fold strip A to the right more firmly. - It should look like this.
This next section is probably the most difficult part. If necessary, use tweezers to help grasp and pull the tapered ends of the paper.
-
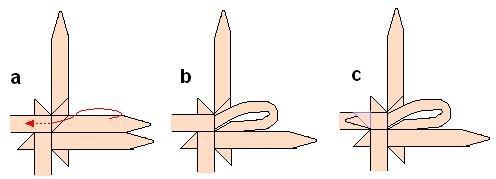
- Fold the top-right strip towards the right. Make a sharp crease, 45 degrees angle.
- It should look like this. See below for details:
a. Turn the same strip of paper around so it is pointing towards the left.
b. When looping this strip of paper around, be sure not to flip it bottom-side up. Tuck the strip of paper under the adjacent layer and weave it through completely.
c: If you have x-ray vision, you will see that the strip of paper comes out of the points made in part 3 and 4 above.


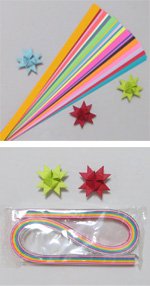
The same instructions but with 4 colored strips of paper. It may be useful to some but it may useless to others!