Gem Star Ring
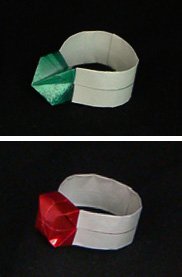
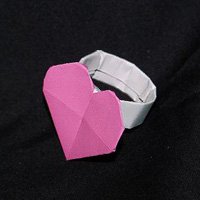
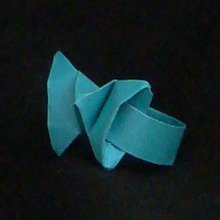
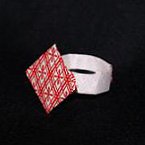
This Gem Star Ring has two configurations: it can look like a gem or like a star, and that is how it got its name. When I say “gem”, I am referring to a square-ish rock and when I say “star”, I am referring to a thing that looks like the tip of a Phillips screwdriver. Gem and Star sounds so much nicer than Rock and Screwdriver.
Gem Star Ring Instructions
- Get a rectangular sheet of paper. This one is 1″ x 4″ but anything of similar size would work. Place the paper so it is white-side facing up.
Fold and unfold in half lengthwise. - Fold the paper in half crosswise.
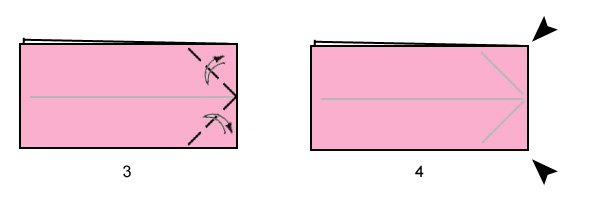
- Fold the two corners to the central crease as shown. Unfold
- Make an inside reverse fold along the two creases made in step 3 (pop the corners inwards so they are in between the layers of paper).
- With the top layer of paper, fold the top-edge and bottom-edge to the middle crease.
- Repeat step 5 with back layer of paper. This makes the band of the finger ring.
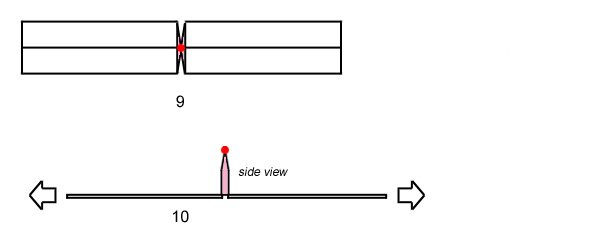
- Note where the paper changes from white to colored. The white part is the band; the colored part will be the gem. Make a crease at the location where the model changes from white to colored paper. Make a valley and a mountain fold so the crease can bend either way.
- Swing the back-layer of paper towards the right side again. Allow the colored part of the paper (the gem-star) to stand upright perpendicular to the white part (band) of the paper.
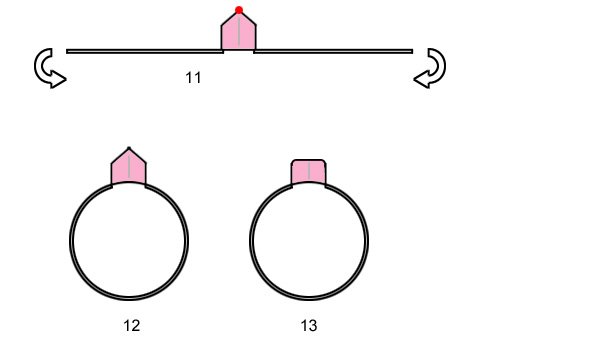
- Below: This is how it should look like.
- Side view: gently pull the band away from each other so the gem expands.
- Wrap the band part of the ring around towards one another. Tuck in one side into the other side so it forms a closed loop.
- You can leave the model so the stone looks like a Phillips screwdriver (star shaped)
- or you can press the tip of the model so it becomes a gem-like structure (square-ish)





Beauty!
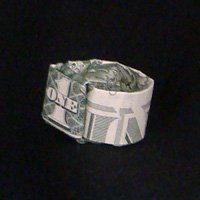
– get Gem Star Ring as photo diagrams

-
Origami Jewelry Books
- Origami Jewelry: More Than 40 Exquisite Designs to Fold and Wear by Ayako Brodek
- Origami Jewelry by Mayumi Jezewski and Marina Orry
- Origami Jewelry Motifs: Fold and Wear Your Own Earrings, Bracelets, Necklaces and More! by J Laboy-Rodriguez
- LaFosse & Alexander’s Origami Jewelry: Easy-to-Make Paper Pendants, Bracelets, Necklaces and Earrings: Origami Book with Instructional DVD: Great for Kids and Adults! by Michael G. LaFosse and Richard L. Alexander
- Origami Jewelry: A Step-by-Step Guide to Creating Beautiful Designs by Monika Cilmi
- Metal Clay Origami Jewelry: 25 Contemporary Projects by Sara Jayne Cole
- Click to see Origami Jewelry Books
-
Please Help
Please help by reporting broken links so that we can fix them. One easy message from you can save us hours and hours of clicking. Thanks! -
More Origami Diagrams and Instructions…
-
These free origami instructions are made available to you by the paper folding community at large. If you have a diagram you would like to share, or if your diagram is listed here and you wish to have it removed, please Contact Us. Diagrams are intended for personal use. Copyright of the models lie with the origami creators and designers. Please contact the designer and/or creator directly for non-private usage of a model and/or artwork.
-


